Creating a course
Quuly / Quuly Cloud Help Center / Creating a course
💡
Are you just looking to log in? You can do that here.
Requirements
✅ You will need to register a Quuly account
I do not have an account yet
- To get started, you will need to sign up for an account here: https://www.quuly.com/signup. You can learn how to create an account here.
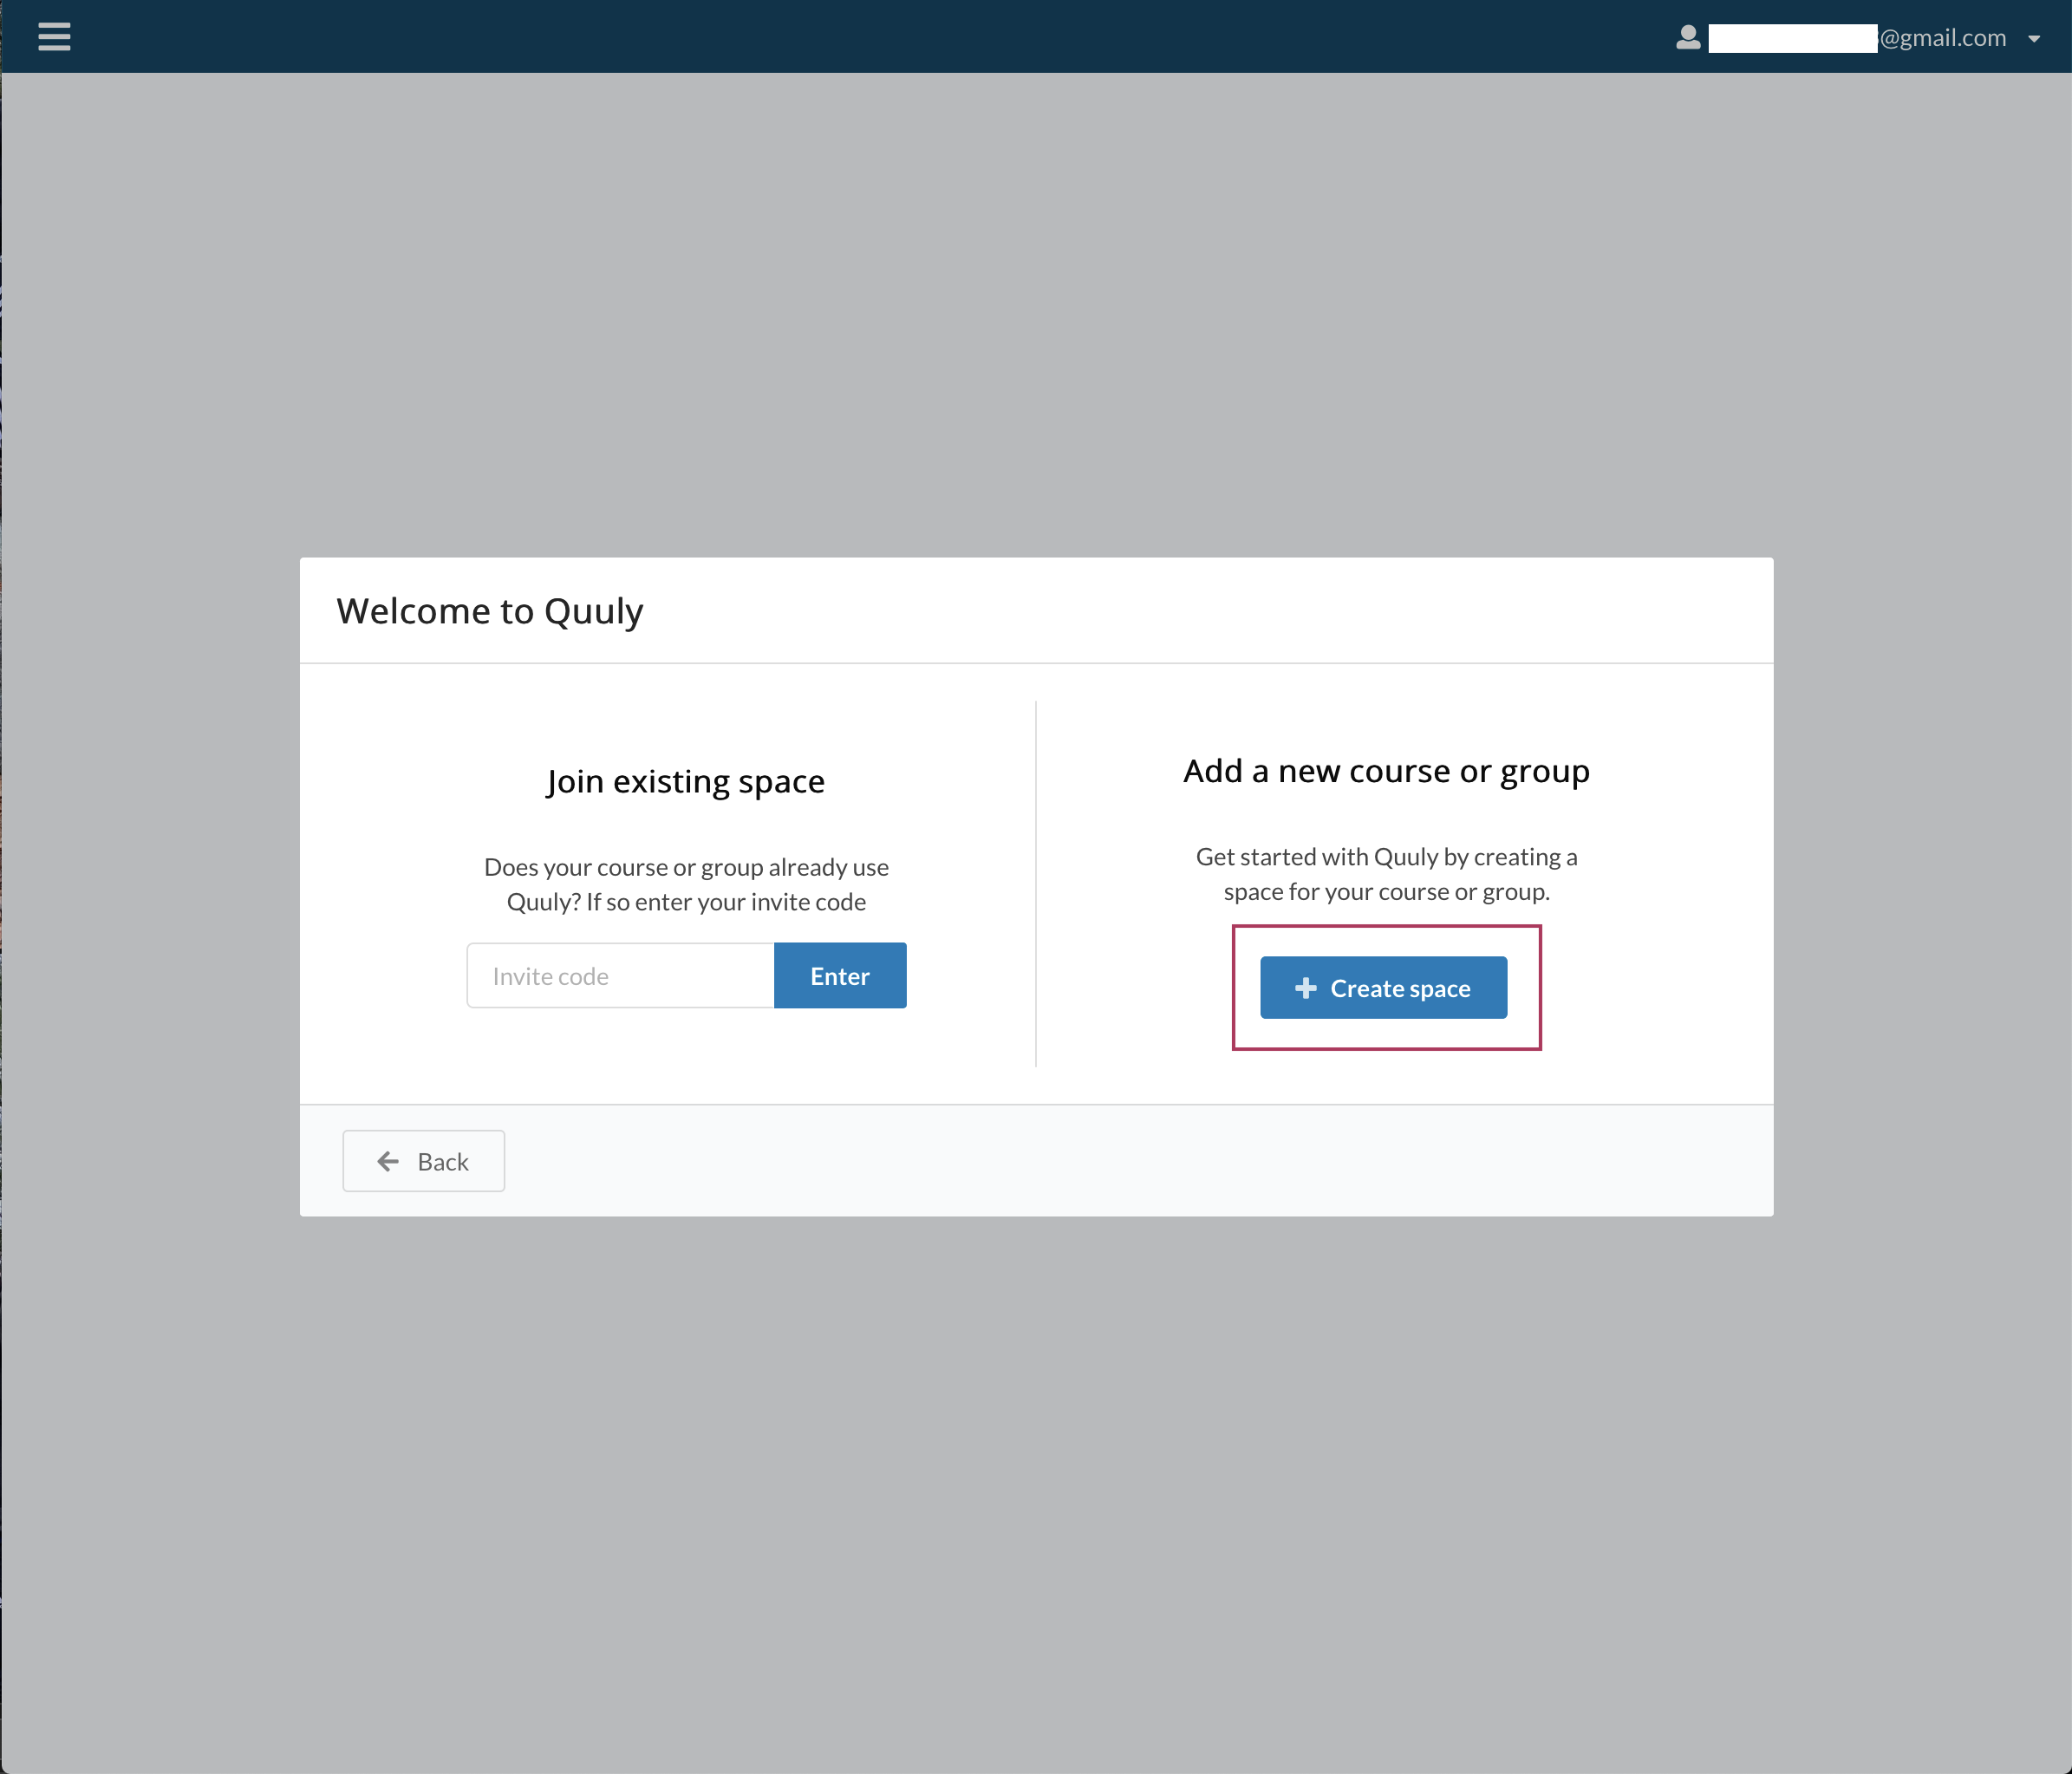
- Select "+ Create space" and follow the tutorial below. When asked for your institution, select the first one that matches.
- Once your course is created you can navigate to the course inbox by clicking on "Queue Inbox". From there you can follow the "Getting started with Quuly" welcome tutorial at the top of the screen to finish setting up your new course.
I already have an account
- To get started be sure to log in to https://quuly.com/login/ with your existing credentials. If you are unable to access your existing account, please log in via your university's single sign on authentication method.
- If you do not have an existing account please skip to step 3. Otherwise, you can create a course by going to "My courses & Spaces" in the left sidebar and clicking on "+ Add Space" (see image below)
- Please follow the course space creation welcome tutorial to configure and deploy your course. When asked for your institution, select the first one that matches.
- Once your course is created you can navigate to the course inbox by clicking on "Queue Inbox". From there you can follow the "Getting started with Quuly" welcome tutorial at the top of the screen to finish setting up your new course.
FAQs
Is there an option to upload the students?
We are currently working on course roster integration. To invite students to your course please see the student invite code help page here.
Is there an option to upload teaching assistants?
We are currently working on course roster integration. To invite teaching assistants, teaching fellows, or other course staff to your course please see the course staff invite code help page here.
Can teaching assistants create courses?
Teaching assistants and students can invite course instructors to create a course on Quuly through the same "+ Add Space" setup flow.
Related articles
Did we miss something? Not to worry! Just email our support team at support@quuly.com ✌️